 GERMANY
 ENGLISH
 FRANCE
 SPAIN
SPAIN PORTUGAL


Blog
CAN YOU CUT ALUMINUM WITH TIN SNIPS?

Can You Cut Aluminum with Tin Snips? The Ultimate Guide to Technology, Tools, and Perfect Cuts
The question, can you cut aluminum with tin snips, is one that comes up time and again in both professional trades and ambitious DIY circles. The short answer is a clear yes. However, behind this simple "yes" lies a world of technical nuances, material specifics, and craftsmanship. Cutting aluminum sheet with hand shears is far more than just a mechanical act of force. It is a process that requires a deep understanding of the tool, the material, and the physical forces at play during the cut. Choosing the wrong shears, using an improper technique, or misjudging the material thickness can quickly lead to messy edges, deformed workpieces, damaged tools, and even injuries. This article provides a comprehensive and in-depth analysis of the topic. We will explore the historical development and physical principles of tin snips, detail the variety of available tools, shed light on the special properties of aluminum, and provide precise instructions for the perfect manual cut. The goal is to paint a complete picture that enables professionals and ambitious hobbyists alike to fully exploit the possibilities and limits of this fundamental cutting method.
Tin Snips: A Timeless Tool of Metal Forming
Before we turn to the specific material of aluminum, it is essential to understand the tool itself in its full depth. Tin snips are one of the oldest and yet most fundamental tools in metalworking. Their simple but ingenious mode of operation has proven itself over centuries and remains indispensable even in the age of high-tech cutting processes.
Historical Development: From Forge Tongs to Precision Tool
The origins of shears date back to the Bronze Age. The first scissor-like tools were simple, springy constructions made from a single piece of metal, primarily used for cutting textiles or hair. The form we know today with a central pivot point first developed in the Roman Empire and revolutionized cutting technology.
However, these early shears were unsuitable for metalworking. Cutting sheet metal required massive, hand-forged tongs and shears used directly in the forge. They were heavy, cumbersome, and demanded enormous physical strength. The Industrial Revolution in the 18th and 19th centuries brought the decisive change. With the machine production of steel and the development of new hardening processes, shears could be made that were sharper, more durable, and more precise. The first specialized tin snips for craftsmen such as plumbers, roofers, and auto body workers emerged.
The 20th century finally brought optimization in the form of better steel alloys for the blades, ergonomic handles, and above all, the invention of the compound action snips, which drastically reduced the effort required and made the tool accessible to a wider range of users.
The Physical Principle: Shearing Force in Detail
Contrary to popular belief, tin snips do not "cut" the material in the classic sense, like a knife does. The correct physical term is shearing. It is a cutting process in which the material is displaced and fractured by two blades sliding past each other. This process can be divided into three phases:
-
Elastic and Plastic Deformation: First, the two blades press the sheet together. The material first deforms elastically (it would return to its original shape) and then plastically (it remains permanently deformed). The blades penetrate the surface.
-
Crack Formation: At the sharp edges of the blades, stress peaks arise due to the extreme material strain. At these points, the material begins to crack. The cracks grow towards each other from both sides of the sheet.
-
Fracture: As soon as the two cracks meet in the middle of the material, the sheet suddenly breaks apart. The cut is complete.
This principle explains why a typical sheared edge is never perfectly smooth. It consists of two zones: a smoother, shiny area created by plastic deformation (the so-called shear zone), and a rougher, matte area resulting from the final fracture (the fracture zone). A slight burr on the underside of the cut is also a characteristic feature of this process.
Structure and Anatomy of Tin Snips
Every pair of hand snips consists of the same basic components, the quality and design of which determine their performance:
-
Shear Head and Blades: This is the functional part of the tool. The blades are made of high-strength, hardened tool steel or chrome-vanadium steel. Their hardness (measured in HRC, Rockwell hardness) and their geometry (cutting angle) are crucial for cutting performance and service life.
-
Pivot: The pivot point that connects the two shear halves. A high-quality, precisely manufactured, and adjustable pivot is crucial for a clean cut. Play in the pivot causes the blades to move apart and bend the sheet instead of cutting it.
-
Handles: The handles are used for force transmission. Their length determines the leverage. Modern snips have ergonomically shaped handles with plastic or rubber coatings for a better grip and less fatiguing work.
The Variety of Tin Snips: The Right Tool for Every Cut
The assumption that there is only "one" type of tin snips is a fallacy. The market offers an impressive variety of specialized snips optimized for different types of cuts, materials, and radii. Choosing the right snips is the first and most important step to success.
Hand Snips: The Classics
This traditional design works with a simple lever action and requires a corresponding amount of force.
-
Combination Snips: They are the all-rounders among tin snips. With their relatively short, strong blades, they are suitable for both straight cuts and gentle curves.
-
Straight-Cutting Snips (or Pelican Snips): They have very long blades and handles. This allows for the fast and efficient cutting of long, straight paths in thinner sheets. The name comes from the fact that the sheet can run over the lower blade during cutting.
-
Hole Snips (or Hawk's-bill Snips): With their very narrow, sickle-shaped curved blades, they are the specialists for cutting tight radii and contours, as well as for cutting out holes after a starting hole has been drilled.
Compound Action Snips: More Power, Less Effort
This modern design, often called "aviation snips," has revolutionized working with sheet metal. An additional compound leverage joint between the handles and the shear head multiplies the hand force. This reduces the required effort by up to 40% and allows for cutting thicker or stronger sheets. They are the most common type today and are often distinguished by a color system for the cutting direction:
-
Yellow Handles: For straight cuts and wide curves (corresponds to combination snips).
-
Green Handles: For straight cuts and tight right-hand curves (cuts to the right).
-
Red Handles: For straight cuts and tight left-hand curves (cuts to the left).
The distinction between left- and right-cutting refers to which side of the cut the waste piece lies on and where the view of the scribe line remains clear.
Electric and Pneumatic Alternatives
For continuous professional use, there are motorized hand tools:
-
Electric Shears: They mimic the movement of hand snips, driven by an electric motor. They are fast and save effort but are less maneuverable than manual shears.
-
Nibblers: These tools punch out tiny pieces of material from the sheet with a small punch. They work without distortion and are ideal for corrugated and trapezoidal sheets, as well as for tight curves.
Stationary Guillotine Shears: The Industrial Dimension
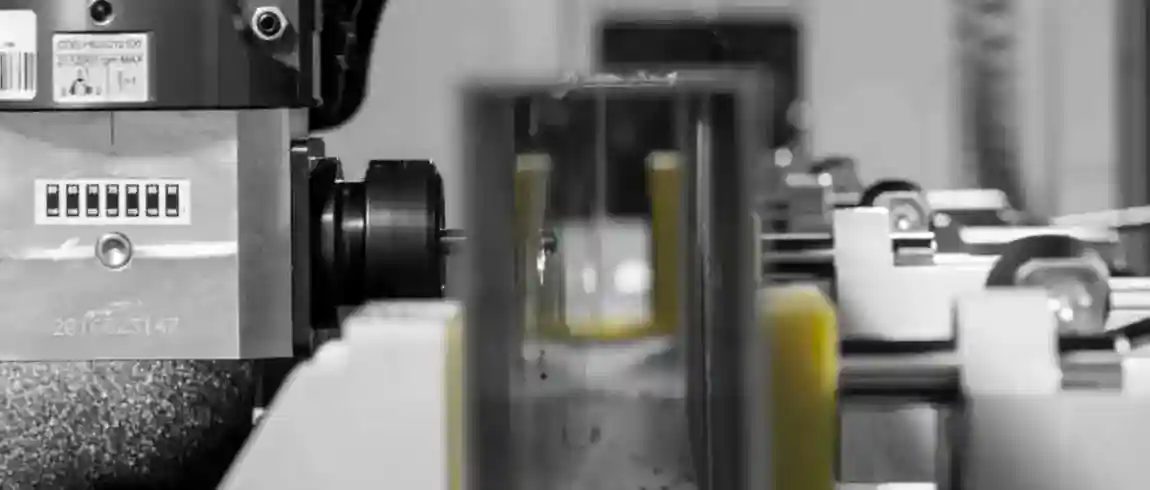
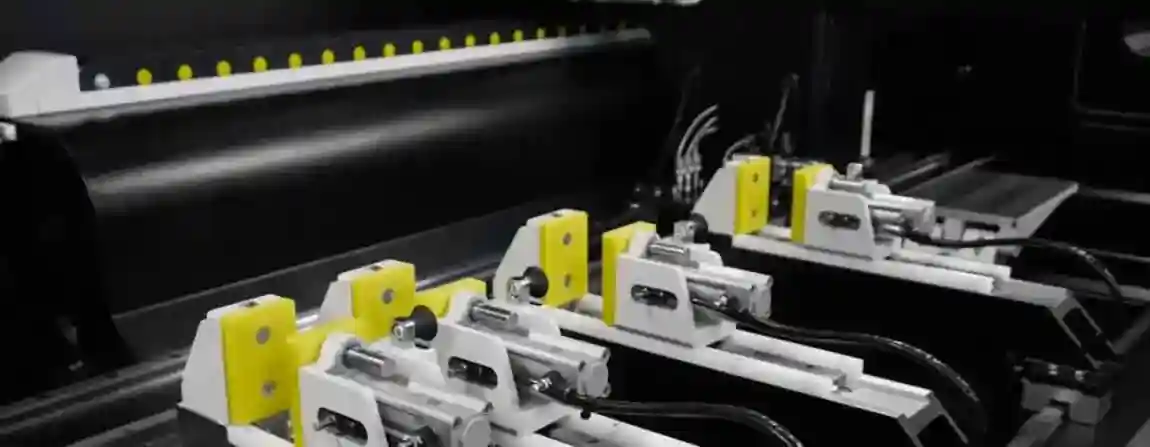
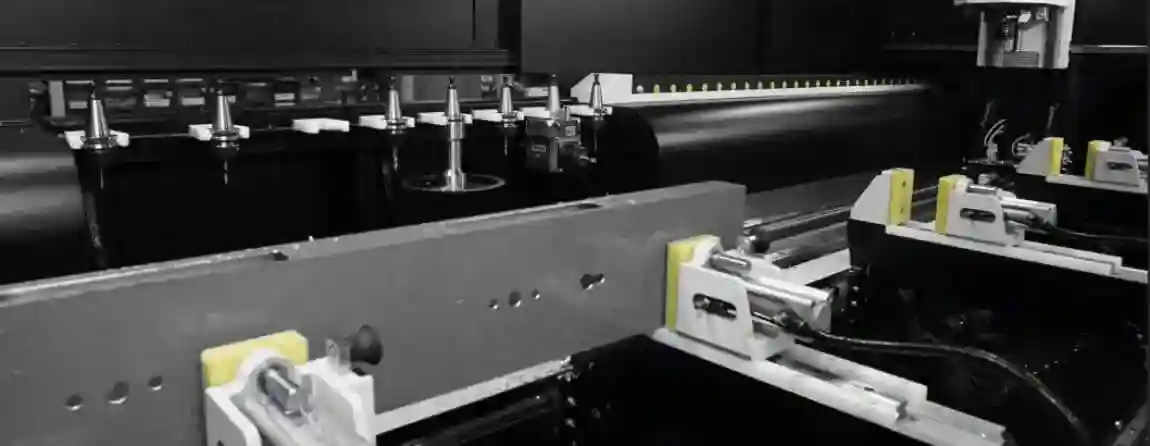
For cutting large sheet metal plates in industry, massive, hydraulically or motor-driven guillotine shears are used. They produce perfectly straight cuts over several meters in length with the highest precision and speed. Based on our extensive experience from countless customer projects, we know that regular inspection is essential, especially for powerful stationary machines. We ensure that every inspection meets the highest quality standards and the strict requirements of CE conformity for machine safety.
Aluminum Sheet and Its Properties: What to Consider When Cutting
Having analyzed the tool, we now turn to the material. Aluminum is in many ways an ideal material for processing with tin snips.
Softness and Malleability
Compared to steel sheet, aluminum is significantly softer and requires less shear force. An aluminum sheet of 1.2 mm thickness can often be cut with the same effort as a steel sheet of only 0.7 mm. This softness makes cutting principally easy and fast.
However, this property also has a downside: aluminum is more susceptible to deformation and scratches. The sharp edges of the snips can easily damage the surface. Even more important is the deformation along the cut edge. Since the material is strongly displaced during shearing, the thin aluminum sheet tends to warp or twist slightly at the edges. This requires a particularly clean technique and sharp tools to minimize the effect.
Work Hardening: An Often Underestimated Phenomenon
During the plastic deformation process of shearing, the crystal structure of the aluminum in the cutting area is heavily compressed and stretched. This process is called work hardening. It causes the material directly at the cut edge to become harder and more brittle than the surrounding sheet. This is usually not a problem but may need to be considered in subsequent forming processes such as bending or flanging, as the edge now exhibits different forming behavior.
Influence of Alloy and Temper
Not all aluminum sheet is the same. The strength and thus the required shear force depend heavily on the alloy and the heat treatment condition (temper).
-
Soft Alloys (e.g., 1050A, 3003): These alloys in a soft state (temper O or H14) are very easy to cut but also have the greatest tendency to deform.
-
Medium-Hard Alloys (e.g., 5754, 6082): These are the most common alloys for general sheet applications. They offer a good compromise between strength and formability and can be worked well with high-quality snips.
-
Hard Alloys (e.g., 2024, 7075): These high-strength alloys, often used in aviation, require significantly higher shear forces and can only be managed with manual snips at very small thicknesses.
The Practical Guide: Cutting Aluminum Sheet Correctly
With the knowledge of tool and material, we can now look at the practical process.
The Decisive Question: What Sheet Thickness is Feasible?
This is the most important question, and the answer determines success or failure. The maximum cuttable thickness depends on the snips, the aluminum alloy, and the strength of the user. The following are general guidelines:
-
Simple Hand Snips: For soft aluminum sheet up to a maximum of 0.8 mm to 1.0 mm (approx. 20 gauge).
-
Compound Action Snips: For soft to medium-hard aluminum sheet up to a maximum of 1.2 mm to 1.5 mm (approx. 16 gauge). Some high-performance models can briefly handle slightly more.
-
Thicker Sheets (> 1.5 mm): Manual cutting with hand snips is generally no longer practical or possible here. The effort becomes too great, the cut quality suffers, and there is a risk of damaging the snips.
Attempting to cut a sheet that is too thick will cause the blades to be pushed apart, bending the sheet between them instead of cutting it.
Step-by-Step Guide for the Perfect Cut
-
Preparation and Scribing: Clean the surface of the aluminum sheet. Mark the cutting line precisely with a thin, waterproof marker or a scribe.
-
Secure Clamping: If possible, fix the sheet on a workbench so that the cutting line is close to the edge of the work surface. Smaller pieces can also be held freehand but require more practice.
-
Positioning the Snips: Open the snips wide and place them at the beginning of the cutting line. Push the snips as far onto the sheet as possible to utilize the maximum leverage.
-
The Cutting Process: Make the cut in long, even strokes. Never close the snips completely to the tip, but only about two-thirds to three-quarters of their blade length. Stop the cut, open the snips again, and restart in the existing cut. This procedure prevents the formation of small corners and hooks in the cut edge.
-
Guidance and Waste Piece: Hold the snips as perpendicular to the sheet as possible. Ensure that the waste piece (the narrower part) can bend or roll away freely to the side. This prevents the snips from jamming in the material. When using left- or right-cutting snips, the waste piece should always be on the corresponding side.
-
Cutting Curves: For curves, guide the snips in many small, successive cuts. Rotate the workpiece, not the snips. Use only curve-cutting or hole snips for tight radii.
Common Mistakes and How to Avoid Them
-
Bent Edges: Occurs when the sheet is too thick, the snips are dull, or there is play in the pivot.
-
"Steps" in the Cut: Happens when the snips are closed completely with each stroke. Always stop before the tip and restart.
-
Inaccurate Path: Often the result of poor visibility of the scribe line. Choosing the right snips (left/right-cutting) is crucial here.
Safety When Working with Tin Snips
Although it is a hand tool, the risk of injury should not be underestimated.
-
Sharp Edges: Both the tool and the freshly cut sheet edges are extremely sharp. Always wear cut-resistant work gloves!
-
Pinching Hazard: Be careful not to get your fingers or skin caught between the handles or in the pivot of the snips.
-
Eye Protection: Small, sharp metal fragments can break off. Wearing safety glasses is therefore strongly recommended.
Our long-standing expertise, based on the realization of a multitude of customer requirements, flows directly into the assessment of workplace safety. This is how we ensure, even with complex systems, that all inspections are not only thorough but also fully CE-compliant to maximize user protection.
Advantages and Disadvantages of Cutting with Tin Snips
Compared to motorized cutting methods, manual shearing has a clear profile of advantages and disadvantages.
The Advantages: Flexibility, Control, and Cost
-
No Heat Generation: Shearing is a cold cutting process. No heat is generated that could alter the material structure, discolor the surface, or damage protective layers (e.g., paint).
-
No Sparks, No Noise: The process is quiet and spark-free, allowing for use in sensitive or fire-risk environments.
-
No Dust or Fume Generation: Unlike grinding or sawing processes, no harmful dust is produced.
-
High Control and Flexibility: The user has direct, haptic control over the cutting path. Curves and complex shapes are easily manageable (with the right snips).
-
Mobility and Independence: Tin snips do not require electricity and are ready for use anywhere, anytime.
-
Low Cost: The acquisition and operating costs are negligible compared to any machine-based alternative.
The Disadvantages: Effort, Material Thickness, and Deformation
-
Limited Material Thickness: As extensively discussed, this is the biggest limitation.
-
High Effort: Despite compound leverage, cutting longer lengths, especially at the limit of the snips' capacity, can be very physically demanding.
-
Material Deformation: A certain amount of deformation (warping) at the cut edge is inherent to the process and can never be completely avoided.
-
Slower Speed: For series or large-area cutting, the process is very slow compared to machine methods.
Beyond Tin Snips: Alternative Cutting Methods for Aluminum Sheet
When the material thickness exceeds the capabilities of hand snips or when other requirements exist (e.g., perfect straightness, no deformation), other methods are used.
Sawing Methods: Jigsaw, Circular Saw, Band Saw
Equipped with a special metal-cutting blade, these saws can also cut thicker aluminum sheets. However, they produce chips and require safety measures against flying debris. The edge quality is often rougher than a clean shear cut.
Rotary Cutting Methods: Rotary Tool and Angle Grinder
These tools remove material by grinding. They are fast but generate a lot of heat, noise, and fine dust. The cut edges are often messy and require finishing.
Industrial Methods: Punching, Waterjet, and Laser Cutting
Punching is very similar to shearing but is done with a die and punch and is ideal for series production. Waterjet and laser cutting are high-precision CNC processes that produce absolutely distortion- and burr-free cuts in any contour.
Conclusion: The Right Tool for the Right Task
We can answer the initial question "Can you cut aluminum with tin snips?" with a nuanced conclusion: Yes, and for thin aluminum sheets up to approx. 1.5 mm thick, it is often the best, cleanest, and most controlled method. Tin snips are an indispensable tool for delicate work, curve cutting, repairs, and adjustments in areas such as auto body work, ventilation technology, model building, or arts and crafts.
The key to success lies in the conscious selection of the right snips for the intended type of cut and in the honest recognition of the physical limit of the material thickness. Anyone who tries to cut a sheet that is too thick by force will fail. However, anyone who approaches thin aluminum sheet with sharp, high-quality snips suitable for the task and with the right technique will be rewarded with precise, clean cuts and a high degree of craftsmanship satisfaction.
Frequently Asked Questions (FAQ)
Which type of tin snips is best for a beginner? For beginners, compound action snips are unreservedly recommended. The reduced effort makes guiding the tool much easier and allows for more controlled and less fatiguing work. A set of left- and right-cutting snips already covers most use cases for curve cuts. For purely straight cuts, a model with a yellow handle is ideal.
Why does my aluminum sheet bend at the edge when I cut it? This slight warping or bending is a normal and unavoidable side effect of the shearing process. As the blades displace the material before it fractures, a certain amount of stress is introduced into the edge. This effect can be minimized by using very sharp snips, not closing the blades to the tip, and allowing the waste piece to bend away freely. The effect is more pronounced with very thin sheets.
Can I sharpen tin snips myself? Sharpening tin snips is possible in principle but requires a lot of experience and the right tools. The exact cutting angle must be precisely maintained. A wrong angle can drastically worsen cutting performance. Additionally, a minimal gap between the blades (the so-called blade gap) often needs to be set correctly. For high-quality snips, it is generally recommended to have them sharpened by a professional grinding service to ensure an optimal result. A well-maintained tool is the basis for quality and safety. This principle, derived from our extensive practical experience, guides us in every inspection, where we pay the utmost attention to compliance with quality and CE safety standards.
Request a free consultation www.evomatec.com